How to use Shrinkr
Make batches of photos smaller for print, web and email, without making them look worse. This guide walks through it step by step, from installing to checking the results.
What changed in each version: Shrinkr release notes.
Shrinkr makes batches of photos smaller, quickly, without making them look worse. This guide walks you through it step by step.
1. Install Shrinkr
- Download Shrinkr-win-Setup.exe from the Shrinkr page.
- Double-click it. Shrinkr installs in a few seconds, with no questions and no admin password needed, and opens straight away.
- You’ll find it in the Start menu and on your desktop.
You need Windows 10 or 11 (64-bit). Everything else Shrinkr needs is included.
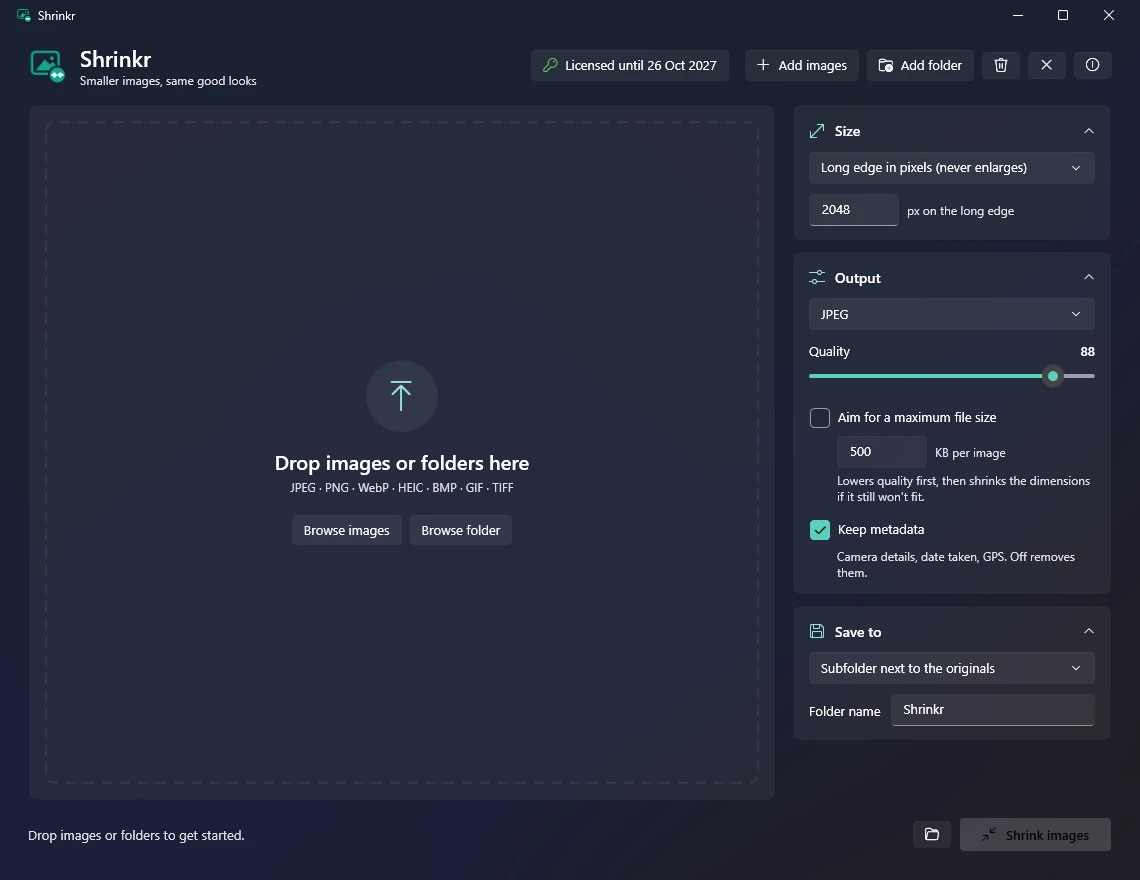
2. Activate your license
Shrinkr needs a license key before it will shrink photos. You’ll have received it by email, either as text starting with SHRK- or as a small file. No key yet? Buy one in the store.
- Click Activate at the top right.
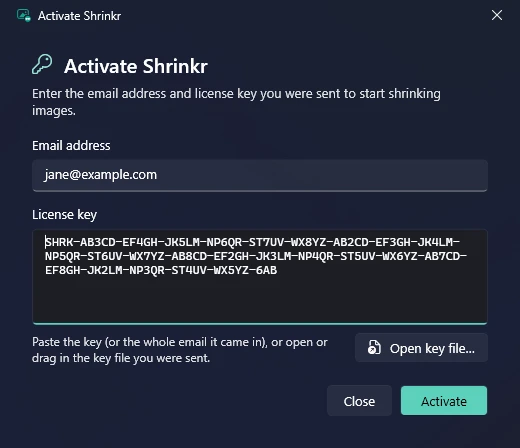
- Enter the email address your license was made for.
- Add your key in any of these ways:
- Paste the key into the License key box (paste the whole email if you like; Shrinkr picks the key out), or
- click Open key file… and choose the file you were sent, or
- drag the key file onto the window.
- Click Activate.
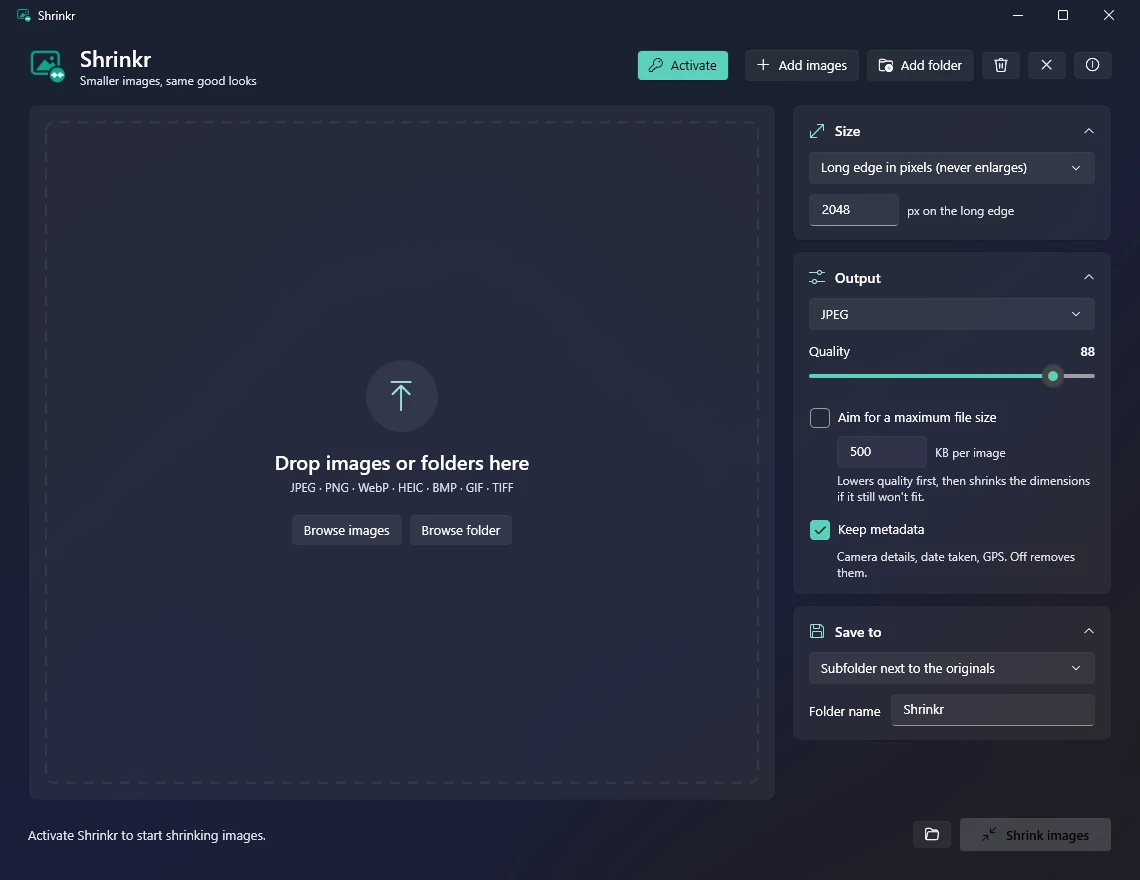
Once activated, the top right shows Lifetime license. Your license works on any PC you use with the same email address, and there’s nothing more to pay. (An older yearly key shows Licensed until and the date instead, and turns amber a couple of weeks before it ends.)
3. Add your photos
Any of these work, and you can mix them:
- Drag photos or whole folders onto the Shrinkr window. Folders include everything inside them, subfolders too.
- Click Add images to choose files, or Add folder to choose a folder.
Shrinkr reads JPEG, PNG, WebP, HEIC (iPhone photos), BMP, GIF and TIFF.
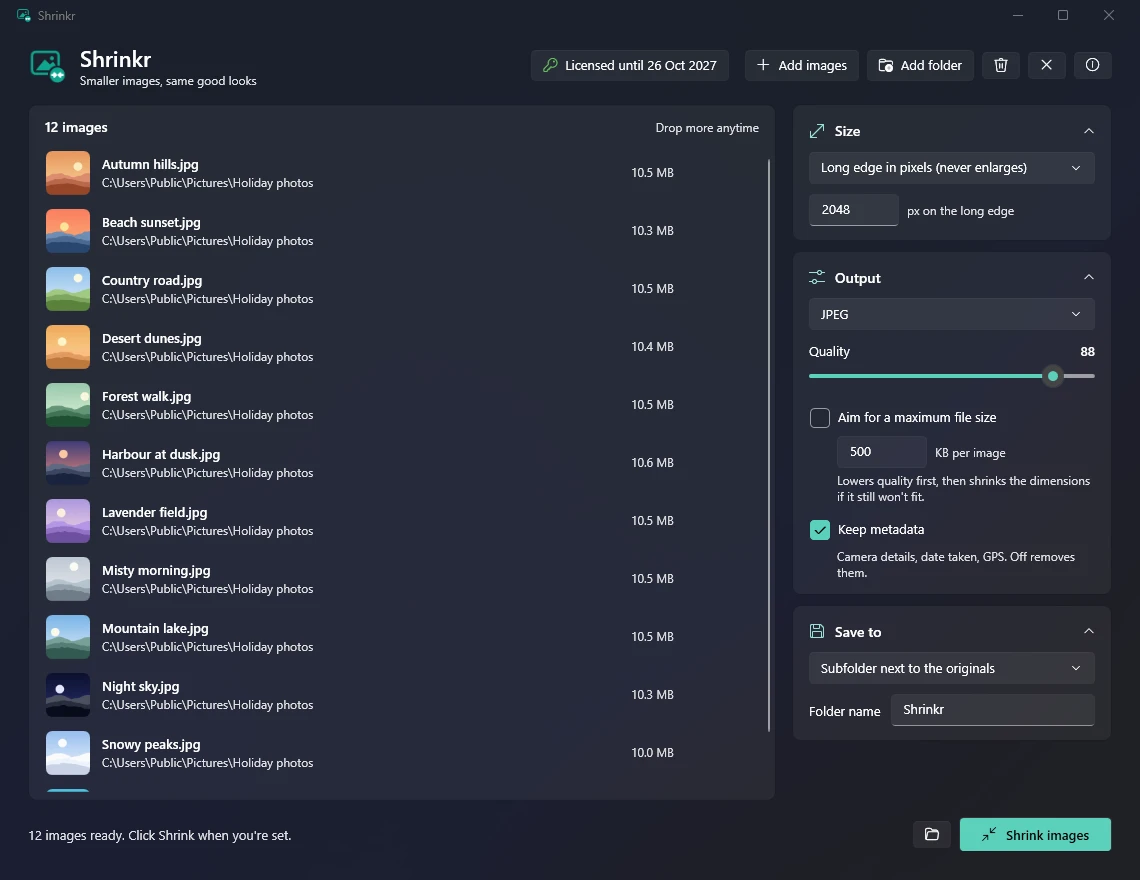
To take photos out of the list, select them (hold Ctrl or Shift to pick several) and click the bin button, or press Delete. The ✕ button clears the whole list. Both ask first, and neither deletes your actual files.
4. Choose the size
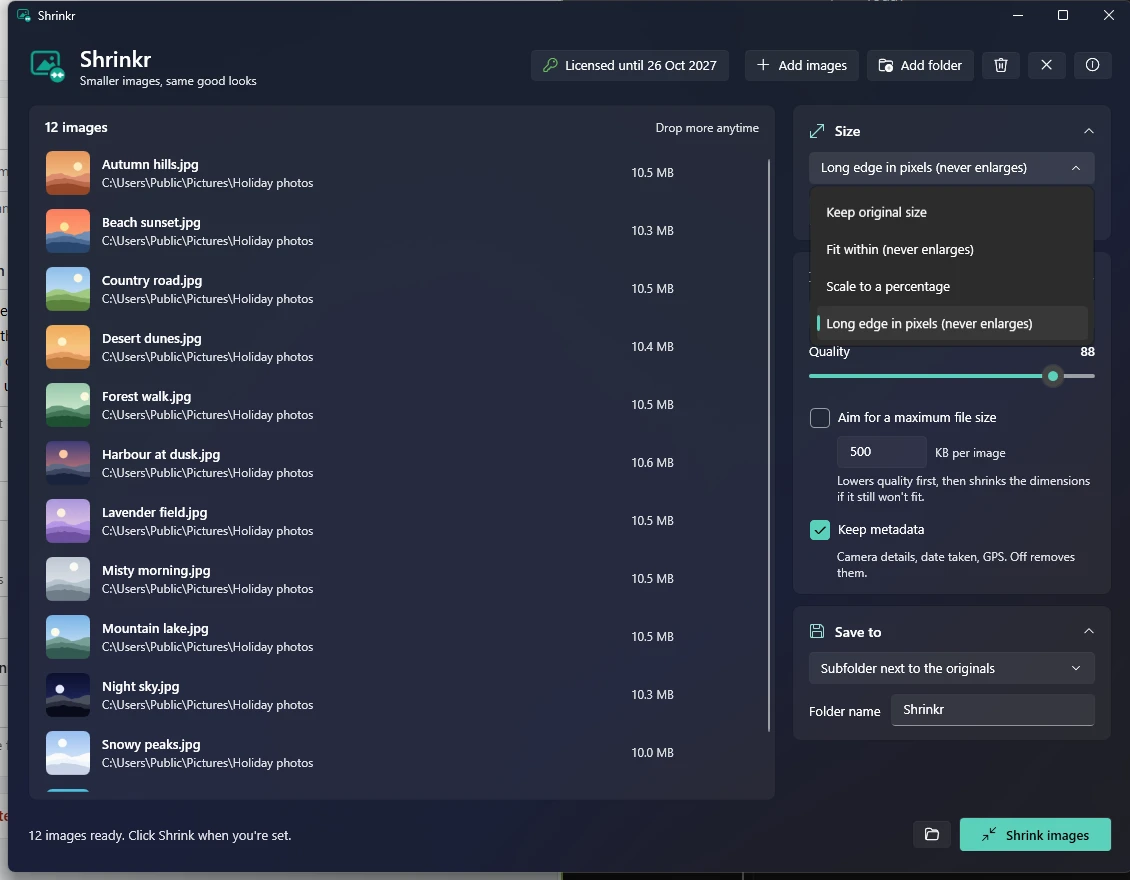
The Size card sets how big the shrunk photos are, in pixels:
| Option | What it does |
|---|---|
| Keep original size | Same width and height; only the file gets smaller. Best for printing at full size. |
| Fit within | Scales down so the photo fits inside a box, such as 1920 × 1920. |
| Scale to a percentage | 50% halves the width and height. |
| Long edge in pixels | The longer side becomes the number you set (for example 2048), whichever way up the photo is. |
Shrinkr never makes a photo bigger. Anything already smaller than your setting is left at its size.
5. Choose the format and quality
In the Output card:
- Format: Keep original keeps each photo’s type (iPhone HEIC becomes JPEG, so it opens anywhere), or choose JPEG, PNG or WebP.
- Quality: higher looks better but makes bigger files. See recommended settings below. PNG ignores this, because it’s always lossless.
- Aim for a maximum file size: tick this and enter a limit (in KB) when the files must fit under a size, for example an email or upload limit. Shrinkr lowers the quality first, then the size, only as much as it needs to.
- Keep metadata: keeps the camera details, date taken, copyright and GPS location in each file. Untick it to remove them, which makes files smaller and keeps locations private. Colour profiles are always kept, so colours stay true.
Tip: click a card’s title to fold it away. Its settings are then shown in one line, and Shrinkr remembers which cards you’ve folded.
6. Choose where to save
In the Save to card:
- Choose a folder each time: Shrinkr asks where to save when you click Shrink.
- Subfolder next to the originals: Shrinkr makes a folder (named Shrinkr unless you change it) beside your photos and saves the smaller copies there.
- Replace the originals: the shrunk photos take the originals’ place. Shrinkr asks you first, and the originals go to the Recycle Bin, so you can get them back.
Shrinkr never overwrites another file. If a name is already taken, it adds a number, such as Beach sunset (2).jpg.
7. Shrink
Click Shrink images. Shrinkr works on several photos at once and shows its progress, including how much space it has saved so far.
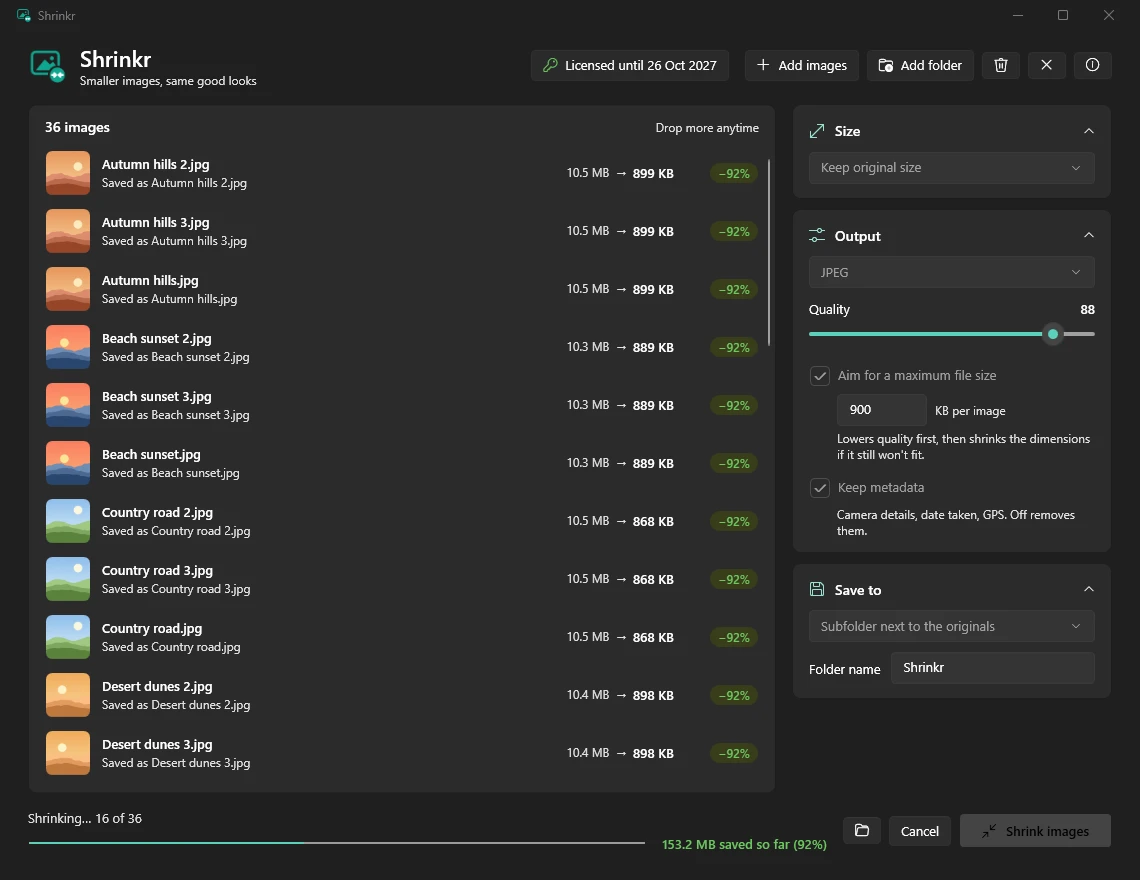
You can click Cancel at any time: photos already finished are kept. If you close Shrinkr while it’s working, it checks with you first and finishes the photos in progress, so you’re never left with a half-saved file.
8. Check the results
When it’s done, a summary shows the space saved, how much smaller overall, how many images were processed, and the time taken. Each photo in the list shows its before and after sizes.
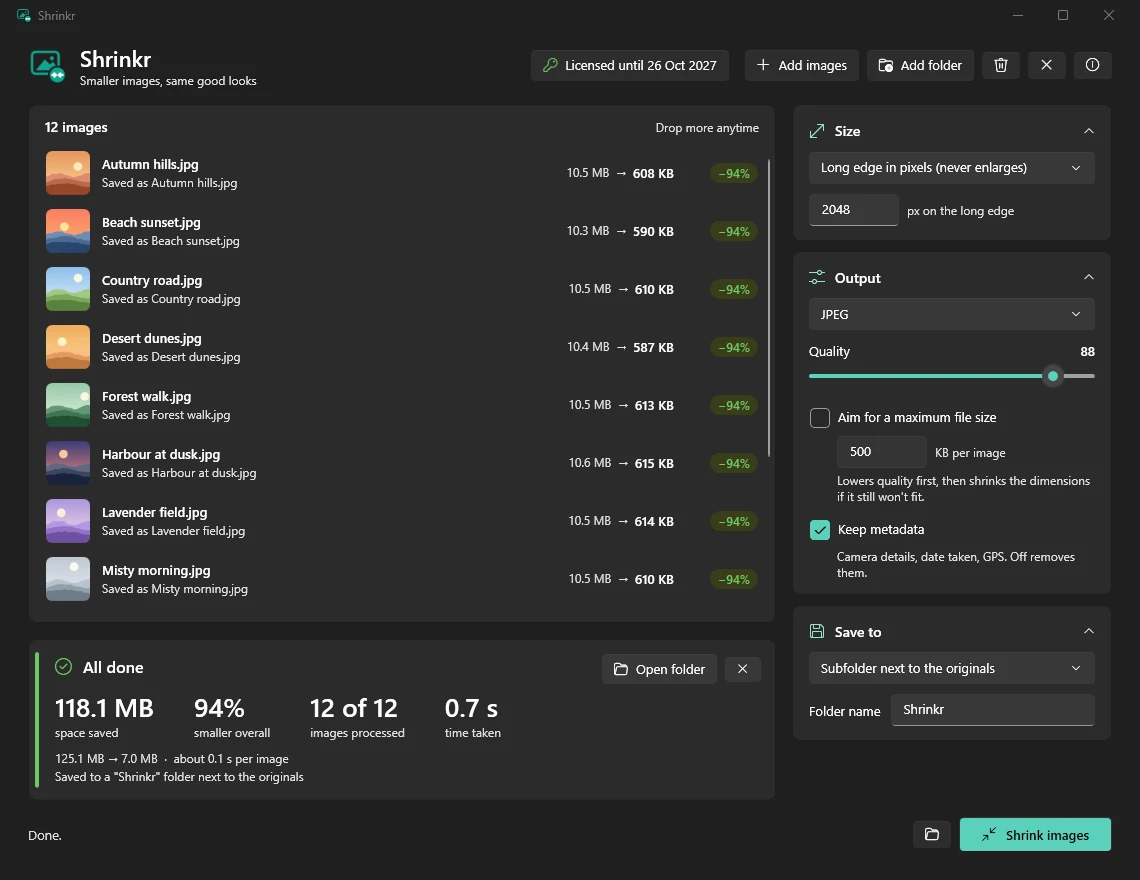
- Open folder shows the shrunk photos.
- ✕ on the summary closes it and clears the list, ready for the next batch.
- If re-saving would make a photo bigger (it can happen with photos that are already well compressed), Shrinkr keeps the original instead and marks it same.
Shrinkr remembers all your settings for next time.
Recommended settings
| For | Size | Format | Quality |
|---|---|---|---|
| Printing | Keep original size, or a long edge that suits your print size | JPEG | 88–92 |
| Websites | Long edge 1600–2048 | JPEG or WebP | 75–85 |
| Long edge 1600, or tick Aim for a maximum file size | JPEG | 80 | |
| Social media | Long edge 2048 | JPEG | 85 |
For printing, start from your full-size exports, not photos that have already been shrunk: each re-save loses a little.
Updates
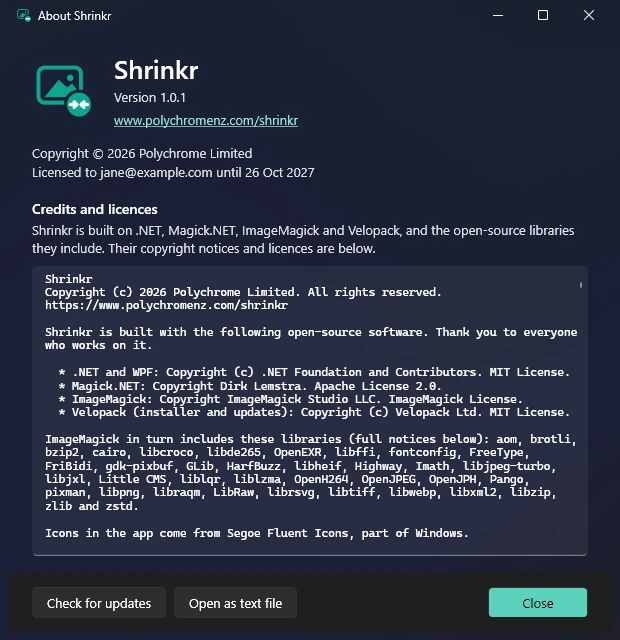
Shrinkr checks for a new version when it starts and offers to update; it takes a few seconds and keeps your settings and license. To check yourself, click the ⓘ button at the top right, then Check for updates.
Troubleshooting
“Windows protected your PC” when installing. The installer is signed by Polychrome Limited, but Windows can still be cautious about newer apps. Click More info, check the publisher says Polychrome Limited, then click Run anyway.
The Shrink images button is greyed out. Shrinkr isn’t activated yet (see Activate), or there are no photos in the list. Hover over the button and it tells you which.
“This key was made for a different email address”. Enter exactly the email address the license was issued to (capitals don’t matter).
“This key expired on …”. That’s an older yearly key that has run out. Buy a lifetime license, or get in touch.
A photo shows in red. It couldn’t be read (for example, a damaged file or an animated GIF). The others are still shrunk.
A photo says “couldn’t reach the size limit”. Your maximum file size was very small for that photo; it’s been made as small as Shrinkr could manage. Try a larger limit or a smaller size.
Removing a photo from the list asks for confirmation.
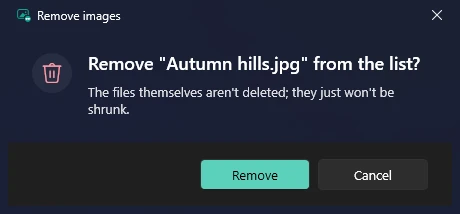
That only takes it off Shrinkr’s list; the file itself isn’t touched.
Uninstalling. Windows Settings → Apps → Installed apps → Shrinkr → Uninstall.
Still stuck? Use the help form below and we’ll get back to you.
Still stuck?
Send a message below, or email [email protected] (screenshots welcome), and we’ll get back to you. It helps to say which version you have (click the ⓘ button in Shrinkr) and what you were doing when the problem happened.